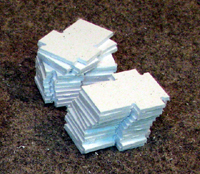
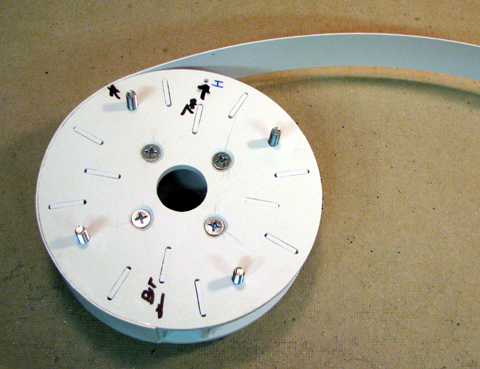
 There are 24 shoulder risers
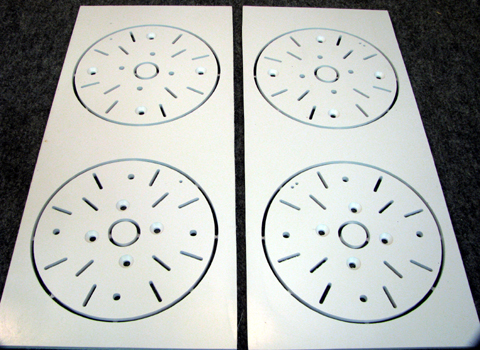
and 4 shoulder plates (Left) [8 if cut from .125 thick styrene]
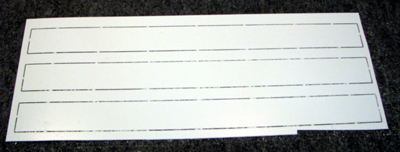
below: there are 2 .040 edge strips (3 shown here)
The 3-Leg Fixed Shoulder Assembly
First step is to separate all of the parts from the sheets they were machined from, remove the tabs and flash, if any. |
There are 24 shoulder risers and 4 shoulder plates (Left) [8 if cut from .125 thick styrene] below: there are 2 .040 edge strips (3 shown here) |
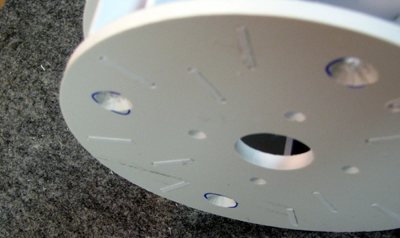
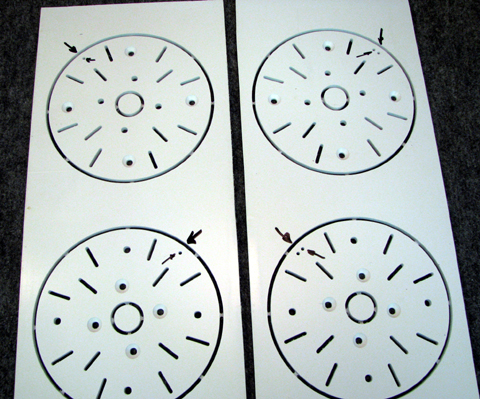 Each shoulder plate has a locater hole that marks the top of the droid's shoulder. A single hole marks the Left shoulder pair. Two holes mark the Right shoulder pair. [I had this backwards!] |
Separate the shoulder plates from the panels. Don't mix up the Left/Right parts. 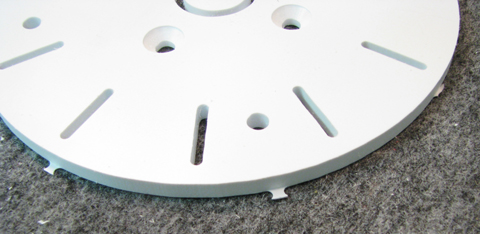 CAUTION those little tabs are sharp and just like the knives on a blender. cut them off right away! |
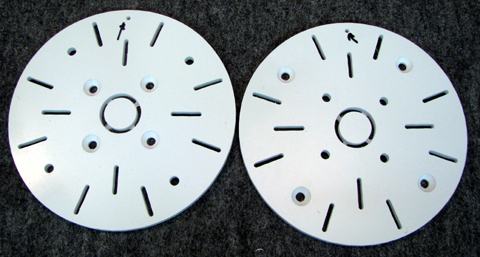 Here is the Right hand set of plates. |
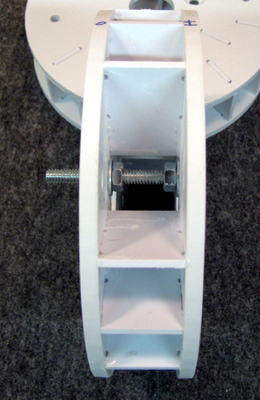
 Test the fit of the risers in the plate. |
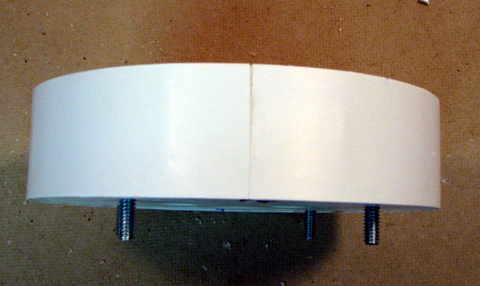
 | Left: Put
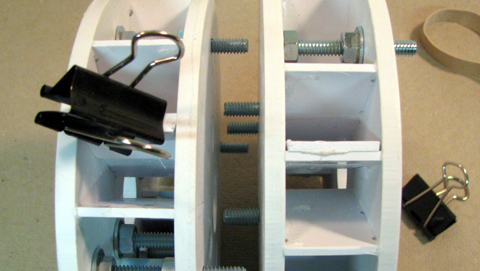
a set of bolts thru the holes to make sure everything lines up. It also helps by verifying you've got the countersinks on the outsides! 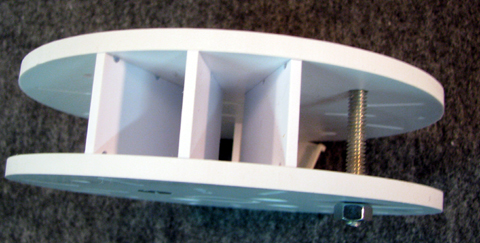 Above: Here's an edge view of the test fit shoulders. |
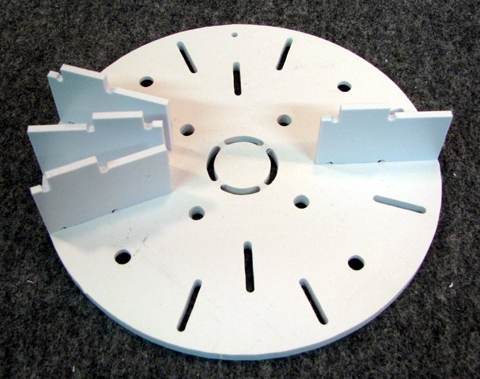
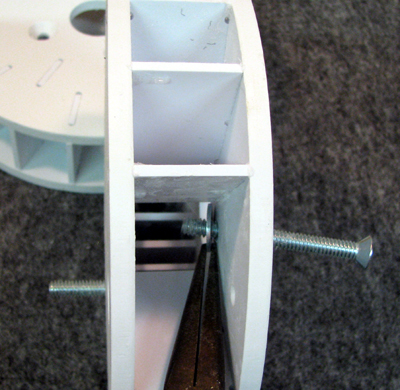
| At this point you are ready to glue up the shoulders. My suggestion is to do one side at a time as follows: Remove the nuts, but leave the bolts in place. lift off the plate that's on top (doesn't matter if it's inner or outer). One at a time, remove a riser, coat the mating edges of the riser with glue and re-insert in it's slot. make sure the riser is as far to the outside of the plate as it will go. the outside edge supports the .040 wrap that goes on later. It's wok if it sticks out a hair, you can always file it down after the glue drys. Replace the plate you removed earlier and bolt together. Set aside till the glue drys. Again remove the nuts, but leave the bolts in place. Take off the plate to be glued. Carefully run a bead of glue on the surface of the all of risers that contact the plate.Work quickly as the glue will run. Replace the plate, and bolt together. Turn the assembly over so that the plate being glued is down. You can reach in and add glue to the area where the riser and slot meet.. Set aside till the glue drys. | |
 The shoulder risers might stick up slightly. Since you want all of the hub surface in contact sand them down. Right: I use a 1/4 sheet palm sander to sand my hubs |  |
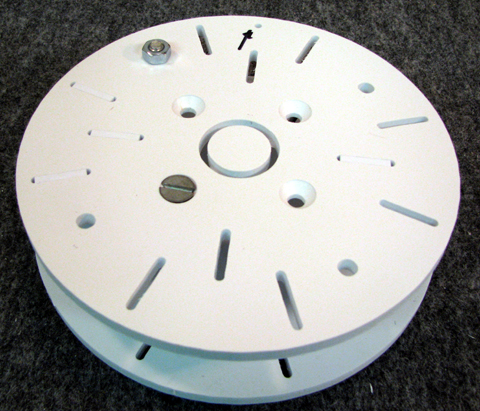
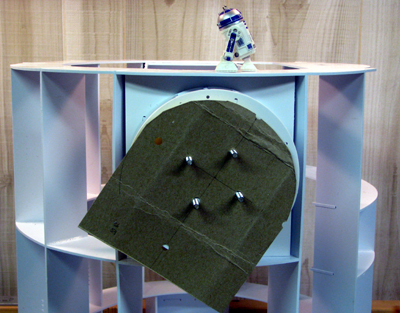
 install a pair of washers & nuts on each edge. Start from the inside. |
 If you don't have a Jr Jedi with small fingers to help a pair of needle nose pliers can be useful. |
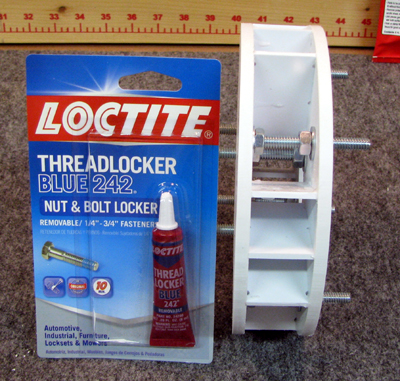 Don't forget to use something to lock the nuts in place. (Loctite is only a suggestion) |
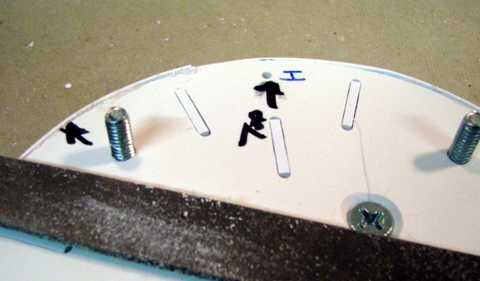
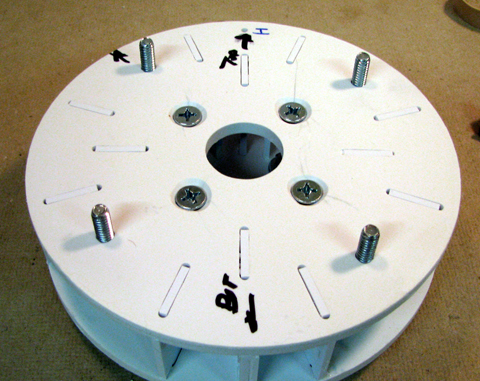 redo the marking for top, add a mark for bottom add a third mark about 1/3 of the way around from the bottom. |
 glue a piece of scrap styrene at the bottom point to double the thickness where the edge joint will be |
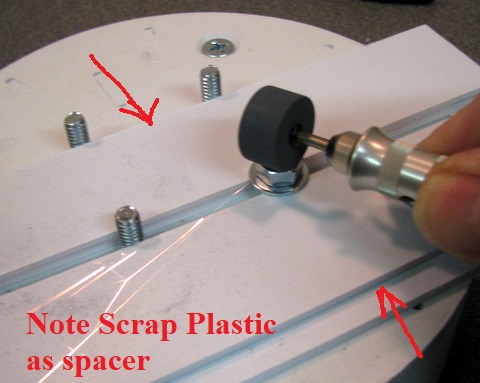
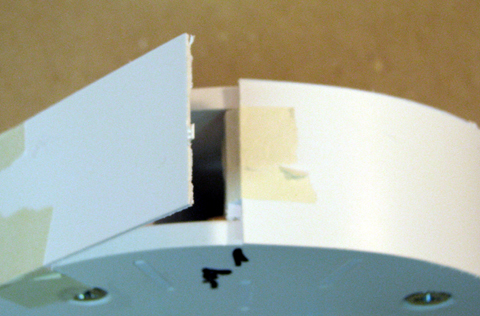 Wrap the edge strip around. It's deliberately oversize. start in the middle of the double thick rib you just made. |
 glue the edge strip on up to the 1/3 point marked earlier. put glue on both the edges and the ribs |
 Once the glue on the first 1/3 is set trim the end of the edge strip so it fits tightly. glue the remaining 2/3 of the edge strip in place. |
 the joint will be
on the underside of the shoulder hub the joint will be
on the underside of the shoulder huband hidden behind the leg |
 I used a flat file to trim off the excess width on the edge. |
 |
It's been suggested that foil tape makes a good finish. Shown here is a roll of tape used for sealing HVAC joints. Don't want to cut your own? You can try this parts source. |
 There are lots of tools you can use to trim the nuts. I choose a dermel grinding tool. | 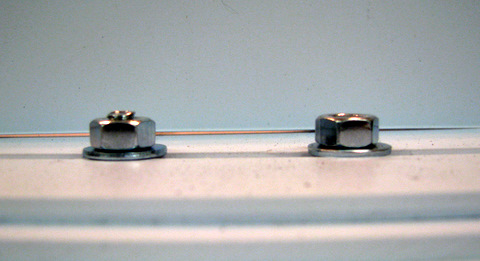 Above: Before and after trimming. Watch out for a thin edge at the top of the bolt. It can be sharp! Left: Expect the Nut to be ground down a little. Use the same Nut, moving it from bolt to bolt. Throw it away when you are done. Whatever process you use, it will generate heat! Keep the bolt/nut cool by using a wet cloth. If it get's too hot your styrene can melt! |
| Home |